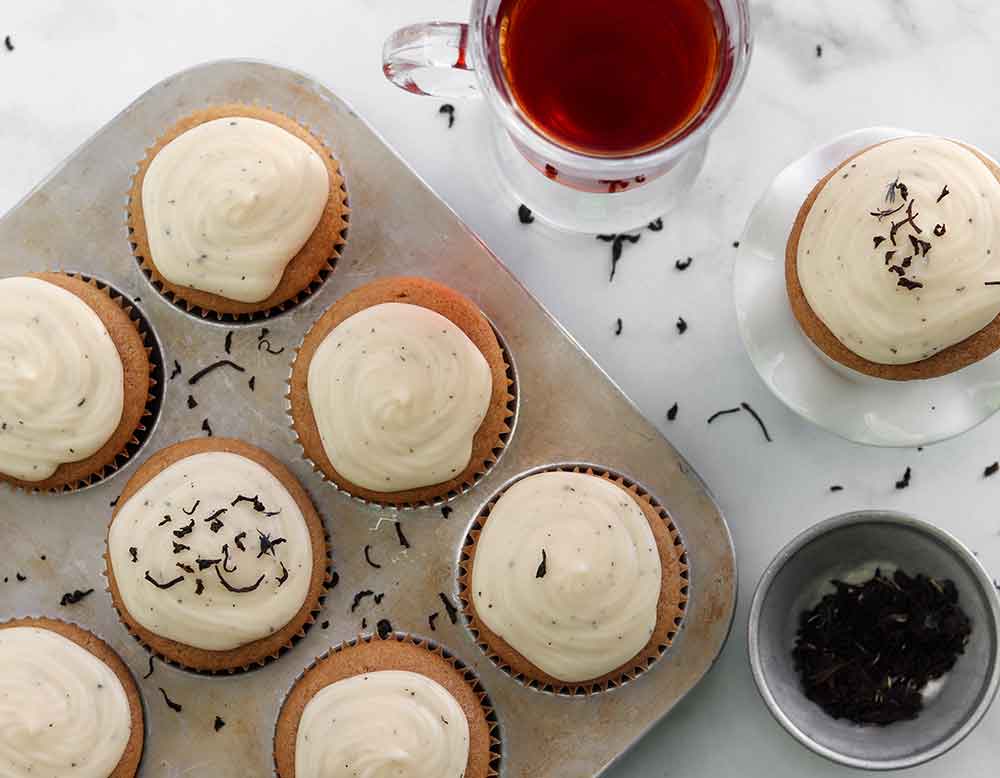
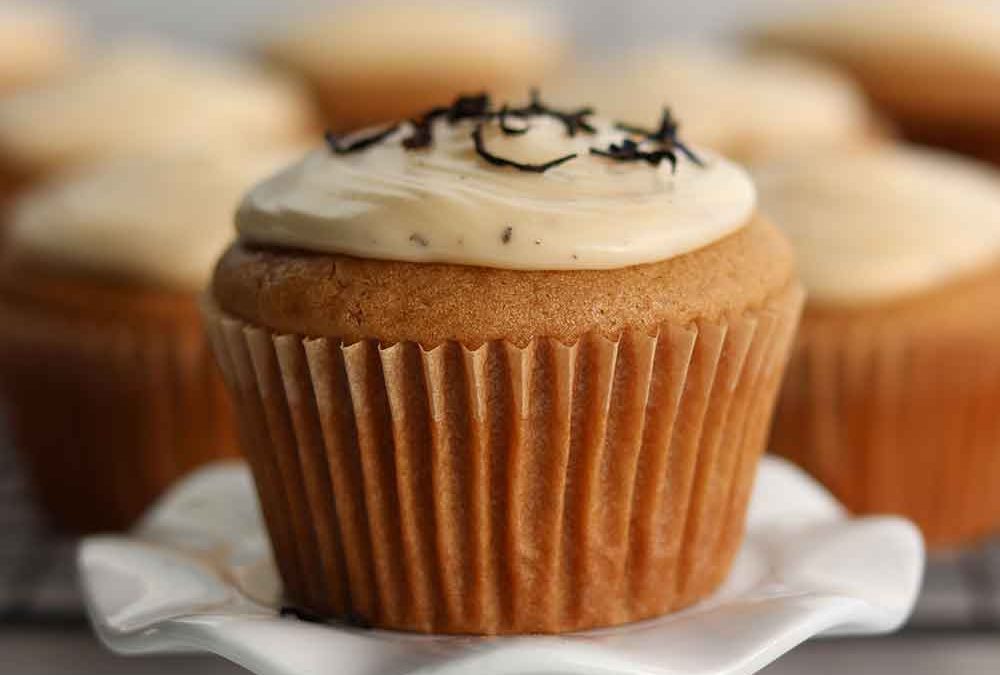
If you’re a tea lover, these cupcakes are for you. They are basically the edible version of a london fog latte. You’re welcome! 😁
I made them gluten and dairy free, but below I also provide options to make them with regular flour, milk, butter and cream cheese.
Product brands I recommend for this recipe
It’s not critical to use these specific brands, but for the best and most consistent results, these are the ones I recommend.
- Robin Hood gluten-free flour
- Earth’s Own barista oat milk
- Omega nutrition aroma free coconut oil
- Violife vegan cream cheese
- Earth balance soy free buttery spread
Recipe substitutions or variations
Substitutions:
Gluten-free flour substitutions: Instead of using the Robin Hood gluten-free flour blend, you can also use white rice flour or any other gluten-free flour alternative. Whatever you decide to use, just make sure it converts 1 to 1 with regular flour. Often gluten-free flour mixes will say right on the label whether they convert 1-1. Some flour mixes will absorb more or less liquids than others and it could affect the consistency. Look for one that has rice flour, tapioca starch, potato starch and xanthan gum for the most consistent results. Instead of gluten-free flour, you can also use regular white (wheat) flour for this recipe.
Oat milk substitutions: Instead of using oat milk, you can use any other type of dairy free milk such as coconut milk, almond milk, cashew milk, etc. You can also use regular cow’s milk.
Coconut oil substitutions: Instead of aroma free coconut oil, you can use regular coconut oil, a vegan butter substitute, or any other cooking oil of your choice. Or use regular cow’s milk butter.
Golden or brown sugar substitutions: Using golden or brown sugar for this recipe creates a super rich and moist texture and a beautiful golden color. But if you want your cupcakes to look lighter, swap out the golden sugar for white granulated sugar.
Loose leaf organic earl grey tea substitutions: For this recipe I used loose earl grey tea leaves that are super aromatic. You can also use earl grey tea bags. If you don’t do caffeine, you can also swap it out for decaf earl grey. Alternatively, you can swap out the earl grey for flavors that you find in your favorite teas. Culinary lavender in the cupcakes, lavender buttercream or lavender frosting would all be delicious. Word of warning here, most essential oils aren’t edible so be careful. Lastly, if you like vanilla cupcakes, just leave out all the afternoon tea flavors. As usual, the recipe is just a base. Make them however you like them using the flavors you love! Lemon zest! Ok, I’ll stop haha.
Dairy free cream cheese substitutes: Instead of using dairy free cream cheese, swap it out for regular dairy cream cheese.
Vegan butter substitutes: For the icing, you can swap out the vegan butter for regular dairy butter. If you are using vegan butter, avoid cashew based butters. The oil-based butters work best, consistency wise.
Looking for more gluten & dairy free recipes and meal plans?
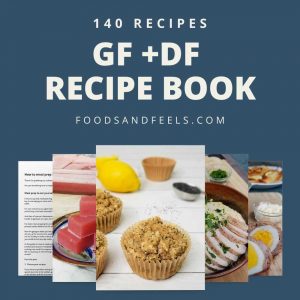
I offer a premade 1 month gluten free dairy free meal plan, as well as an additional gluten free dairy free recipe book which comes with 140 recipes in total (35 breakfast recipes, 35 lunch recipes, 35 dinner recipes, and 35 snack/dessert recipes).
Variations:
Make these cupcakes with regular flour, milk, butter and cream cheese
Simply swap out the gluten-free flour mix for regular all purpose flour, and swap out the vegan butter, milk and cream cheese for regular butter, milk and cream cheese. You can also use butter in the cupcake batter instead of coconut oil. No need to alter the amounts the recipe calls for, as these ingredients swap out 1-1.
Make vegan earl grey cupcakes
Swap out the real eggs with flax eggs – mix 2.5 tbsp water with 1 tbsp flax in a bowl and let stand for 5 minutes until thickened.
Pro tips for this recipe:
Use room temperature eggs, butter and cream cheese
Before you make your cupcakes and frosting, take your eggs, butter and cream cheese out of the fridge and put them on the counter a few hours before you start. This will make them easier to work with.
This will also prevent your coconut oil from hardening up when it comes into contact with the eggs.
Make sure to melt your coconut oil
For the cupcake batter, make sure you use fully melted coconut oil. If you don’t melt it, you won’t get the same consistency of batter or finished product.
Chill your earl grey frosting in the fridge or freezer
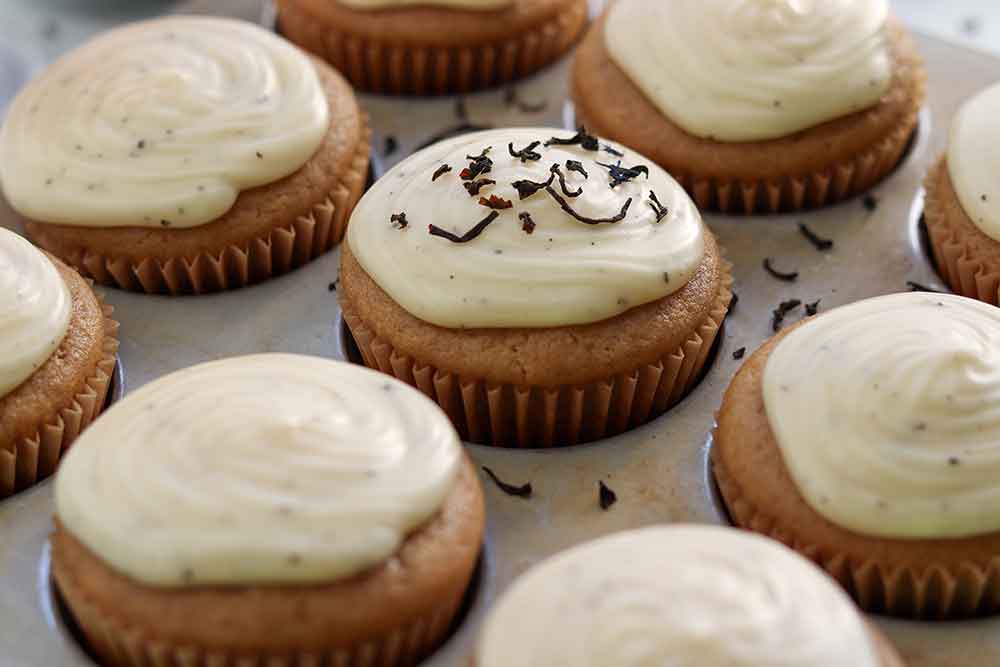
Because this recipe uses earl grey tea in the frosting, the consistency is a bit more thin. Chilling your frosting in the fridge or freezer before frosting your cupcakes will ensure that it doesn’t just drip right off the edges! If you find your frosting is too thin, feel free to add more icing sugar until you reach your desired consistency.
Storage tips:
Keep these london fog cupcakes in the fridge for up to 1 week. They freeze very well and can be stored in the freezer for up to 3 months or so in a sealed container.
Tried my earl grey cupcakes with cream cheese frosting?
Please leave me a rating and review below, and post a picture of the dish to Instagram and tag me at @foodsnfeels 🙌
You might also like:
If you liked this recipe, you might also like my other cupcake recipes:
If you are looking for more, download my free 7 day gluten free & dairy free meal plan!
Earl Grey Cupcakes Recipe
Equipment
Ingredients
Earl grey cupcakes
- 1 ¾ cup gluten-free flour (I used Robin Hood brand)
- 1 cup organic golden sugar
- ½ tsp salt
- ½ tsp baking soda
- ½ tsp baking powder
- ¼ cup melted coconut oil (I used aroma free coconut oil)
- 2 eggs
- 1 tsp vanilla extract
- 1 tbsp white vinegar
- ¾ cup oat milk
- ½ cup brewed earl grey tea (as strong as possible)
Earl grey frosting
- ½ package dairy free cream cheese
- ⅛ cup vegan butter
- ½ tsp vanilla extract
- ⅛ cup brewed earl grey tea (as strong as possible)
- 3.5 cups icing sugar (powdered sugar)
- ½ tsp ground earl grey tea (optional)
- ½ tsp bergamot extract/oil (optional)
Instructions
Cupcakes
- Take your eggs, butter and cream cheese out of the fridge ahead of time to bring it to room temperature.
- Preheat your oven to 325F.
- Mix all of your dry ingredients together on medium speed in a stand mixer with the paddle attachment. A large bowl and wooden spoon also works.
- Bring roughly 1 cup of water to a boil in your kettle or in a pot on the stove.
- While your water is boiling, melt ¼ cup coconut oil in a glass dish in the microwave.
- Once your water has boiled, steep at least 2-4 bags (or 4 tbsp loose leaf) of earl grey tea in 1 cup of your boiling water. For the strongest flavor, I used super aromatic loose leaf organic earl grey tea. Your tea leaves will soak up some of the water but that’s okay because you only need ½ + ⅛ cup of steeped tea for this recipe. Steep for up to 10 minutes to make sure it’s really strong.
- Add all of your wet ingredients (including just ½ cup of your steeped earl grey tea – the other ⅛ cup is for the icing) to your dry ingredients and mix thoroughly until there are no clumps remaining.
- Line a muffin tin with parchment paper muffin cups or cupcake liners.
- Equally distribute your cupcake batter into the 12 muffin cups.
- Bake your cupcakes for roughly 25 minutes or until a toothpick comes out clean.
Earl grey frosting
- While your cupcakes are baking, you can get your cream cheese frosting going.
- In a stand mixer with the whisk attachment (or food processor), mix together ½ package of room temperature cream cheese, ⅛ cup of room temperature vegan butter, ½ teaspoon of vanilla, and ⅛ cup of steeped earl grey tea. Optionally, for extra flavor you can also add ½ teaspoon of bergamot oil/extract and/or ½ teaspoon of ground earl grey tea. Please note: most essential oils are not food safe. Make sure the one you have is approved for consumption.
- Once you have whipped together your wet ingredients, slowly start adding your icing sugar 1 cup at a time and continue mixing.
- Cover your bowl of icing and stash it in the fridge or freezer for at least 15 minutes. This will harden it up a bit and make it easier to work with.
- Once your cupcakes are done, make sure to let them cool completely on a wire rack. This way, your icing won’t melt when you put it on your cupcakes.
- Optional: Transfer your cooled icing into a piping bag and pipe your icing on to all 12 of your cupcakes. If you are not worried about your cupcakes looking real pretty, you can also just slather it on with a spoon! You may have left over icing depending on how much you like on your cupcakes.
- Store your iced cupcakes in the fridge for up to 1 week or in the freezer in an airtight container for up to 3 months or so.
- Enjoy at your next tea party with a cup of earl grey tea.
Video
Notes
Nutrition
Disclaimer: This recipe post contains Amazon affiliate links. This means that if you click on a link and make a purchase, I will receive a small commission (at no extra cost to you). This helps support me so that I can continue to put out high quality, free recipes for you guys! Thank you 😁🙌


 Welcome to my blog! I share my *healthified* comfort food recipes that work with a variety of different diet approaches. AND all of my recipes are 100% gluten and dairy free.
Recent Comments