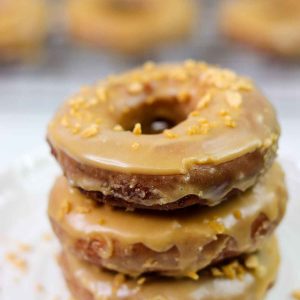
Gluten Free Maple Glazed Donut Recipe
This maple glazed fried gluten free donut recipe is my take on a classic yeast risen donut, but without the gluten or dairy. It can also be made vegan with the use of an egg substitute.
Equipment
- Deep cast-iron pan or pot (or deep fryer)
Ingredients
Dry ingredients
- 1 ½ cup gluten free flour (I recommend Robin Hood brand)
- ⅛ cup granulated white sugar
- ½ tsp salt
- 1 tsp quick rise yeast
Wet ingredients
- ½ cup warmed dairy free milk
- 2 tbsp melted vegan butter (I recommend Earth Balance soy free)
- 1 room temp egg (or 1 chia egg - 1 tbsp chia seeds mixed with 4 tbsp water)
- 1 tsp white vinegar
- ½ tsp maple extract
Maple glaze
- 2 tbsp melted vegan butter
- ⅓ cup maple syrup
- 1 ⅛ - 1 ¼ cup icing sugar
- ½ tsp maple extract
Deep frying
- 1 small jug canola oil (enough to fill the cast iron pan or pot to at least 1-2 inches deep)
Donut topper
- ½ cup maple flakes
Instructions
Make the donut batter
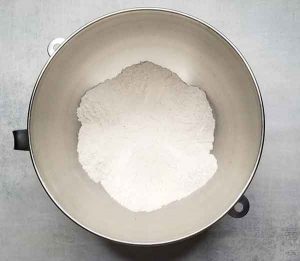
- Mix all of the dry ingredients together in your stand mixer or large bowl – gluten-free flour, granulated sugar, salt and quick rise yeast.
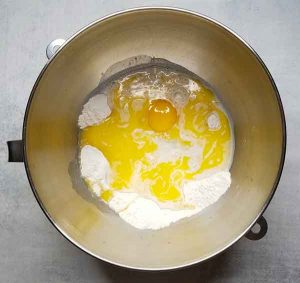
- Once your dry ingredients are mixed together, add all of your wet ingredients into the stand mixer – dairy free milk, melted butter, egg, vinegar and maple extract.
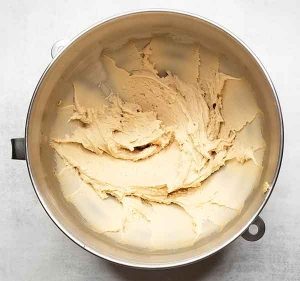
- Using the mixer attachment, mix your dough thoroughly until all of the ingredients are incorporated. Continue mixing for a couple minutes to knead your dough.
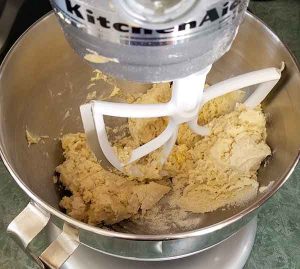
- Your dough should be sticky and more wet than regular bread dough usually is. If its not, add additional water or dairy free milk slowly until it is. Be careful not to go to thin though either.
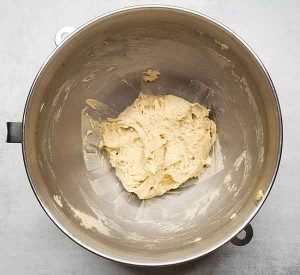
- Using a spatula, scrape the dough from the sides of the stand mixer or bowl down towards the middle until you have formed a ball out of all of the dough.
Rest your dough
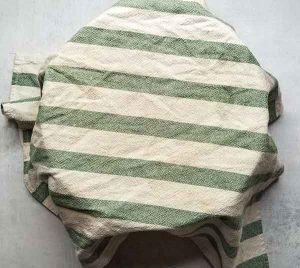
- Cover your bowl with a damp towel and let the dough rest for 10 minutes. The dough will not rise during this time.
Roll out and cut your dough
- On a clean surface, sprinkle some gluten-free flour and spread it evenly around with your hand. Using the spatula, scrape your ball of dough out onto the floured surface.

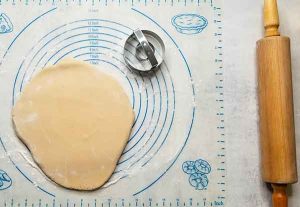
- Sprinkle some additional gluten-free flour on top of the dough and start to press it down with your hand until it is in a disk-like shape.
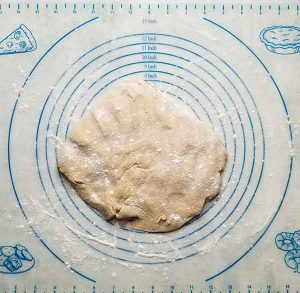
- Then using your rolling pin, roll it out until it is about 1/2 to 3/4 inch thick. You can even go up to 1 inch thick if you want larger doughnuts.
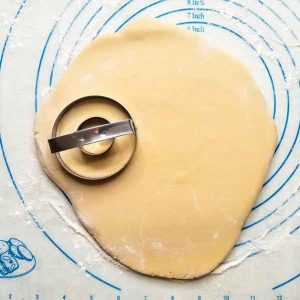
- Using a floured doughnut cutter, cut out the doughnut shapes carefully – the dough will be flimsy so be careful while handling it.
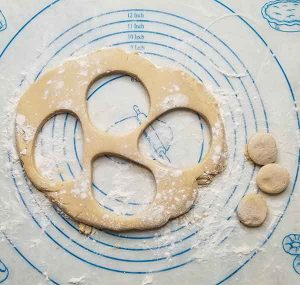
- Cut out as many as you can from your rolled out dough. Then combine the remaining scraps and repeat the process of flouring, rolling out and cutting until you've used up all the dough. You will usually get around 8 to 10 small doughnuts – depending on the size of your doughnut cutter. You can also set the donut holes aside if you want to make some of those too!
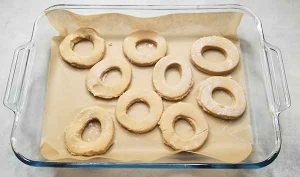
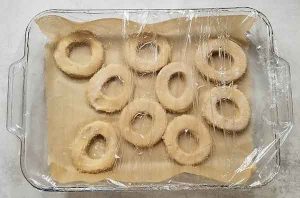
- Line a deep glass baking dish with parchment paper. Place each cut out doughnut onto the parchment paper. Allow a bit of space between each doughnut as they will rise and spread a bit.
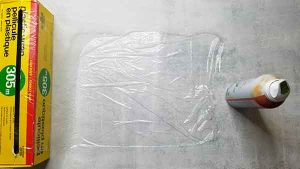
- Cover your glass dish with oiled plastic wrap. The easiest way to do this is to prepare the sheets of plastic wrap first on the counter, spray one side of them with cooking spray, and then top the glass baking dish with them – oiled side down. The plastic wrap should create a tight seal so that no air can get into the pan.
Rise your dough
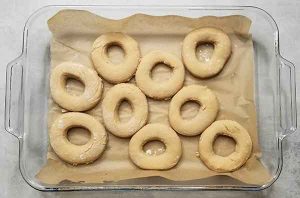
- In a warm spot (I put them under the oven light), let them rise for roughly one hour.
- Gluten-free yeast risen dough will not rise as much as a regular dough that contains wheat/gluten flour will. They should however rise to about 150% of its original size.
Deep fry your donuts
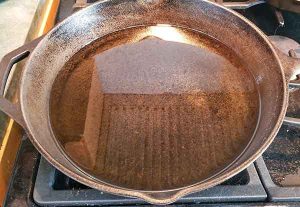
- In a large cast-iron pan or pot, pour in at least 1-2 inches of vegetable or coconut oil. Heat up to medium heat (roughly 300 to 350 Fahrenheit if you have a deep frying temperature gauge). You can also test that your oil is up to temperature by tossing in a small piece of dough scrap. If it starts bubbling away immediately, you should be good to go.
- One at a time, carefully peel off the cut up doughnuts from the parchment paper and gently lower into the oil. Be very careful not to burn your self and ideally use something to help you lower it into the oil such as a metal flipper. After roughly 30 seconds to 1 minute you can flip the doughnut using a fork or flipper. Flip them once they start to get golden brown. Be careful not to overcook them. You’ll know they are starting to overcook if they start getting to be more of a darker brown colour.
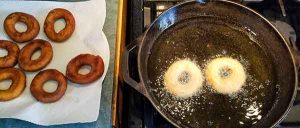
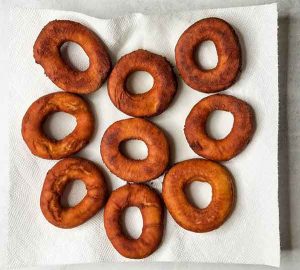
- When each doughnut is cooked, lift them out and put them on a plate or wire rack lined with a paper towel to soak up some of the extra grease.
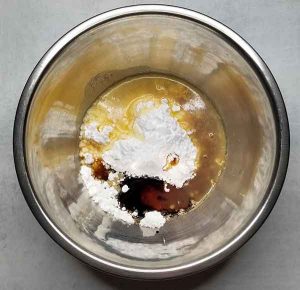
Make the glaze
- While your doughnuts start to cool, you can make the glaze by combining all ingredients into a large bowl.
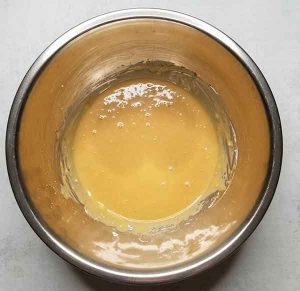
- Mix the glaze with a whisk until everything is combined and there are no lumps left.
Glaze the donuts & garnish
- Line up your fried doughnuts, maple glaze and your glass baking dish lined with parchment paper.
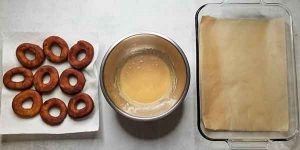
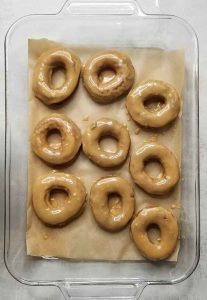
- Dip one side of each cooked doughnut into the maple glaze and then place back into your glass baking dish lined with fresh parchment paper.
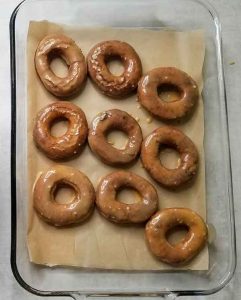
- Once the maple glaze has hardened up (usually happens within 10 minutes or so), you can dip your doughnuts a second time. This will make sure that the glaze is on there nice and thick.
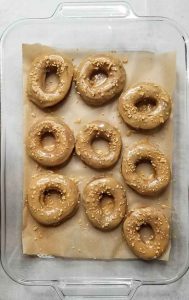
- Place them back into the glass baking dish and sprinkle with maple flakes if desired. Let sit for another 10 minutes or so until the glaze has hardened.
- Enjoy right away! Store in the fridge for 2 to 3 days in an airtight container. If you are serving them from the fridge, put on a plate and microwave for 10 to 15 seconds to soften them up again.
Notes
In the blog post above, I give instructions on making this recipe vegan with the use of 1 chia egg.
I also provide instructions on using active dry yeast instead of quick rise yeast.
You can also find recipe ingredient substitutions and other variations on this recipe.
Nutrition
Calories: 317kcalCarbohydrates: 42gProtein: 2.7gFat: 16.2gSaturated Fat: 2.3gPolyunsaturated Fat: 4.5gMonounsaturated Fat: 8.8gTrans Fat: 0gCholesterol: 19mgSodium: 172mgPotassium: 29mgFiber: 2.4gSugar: 22.4g
Tried this recipe?Let us know how it was!