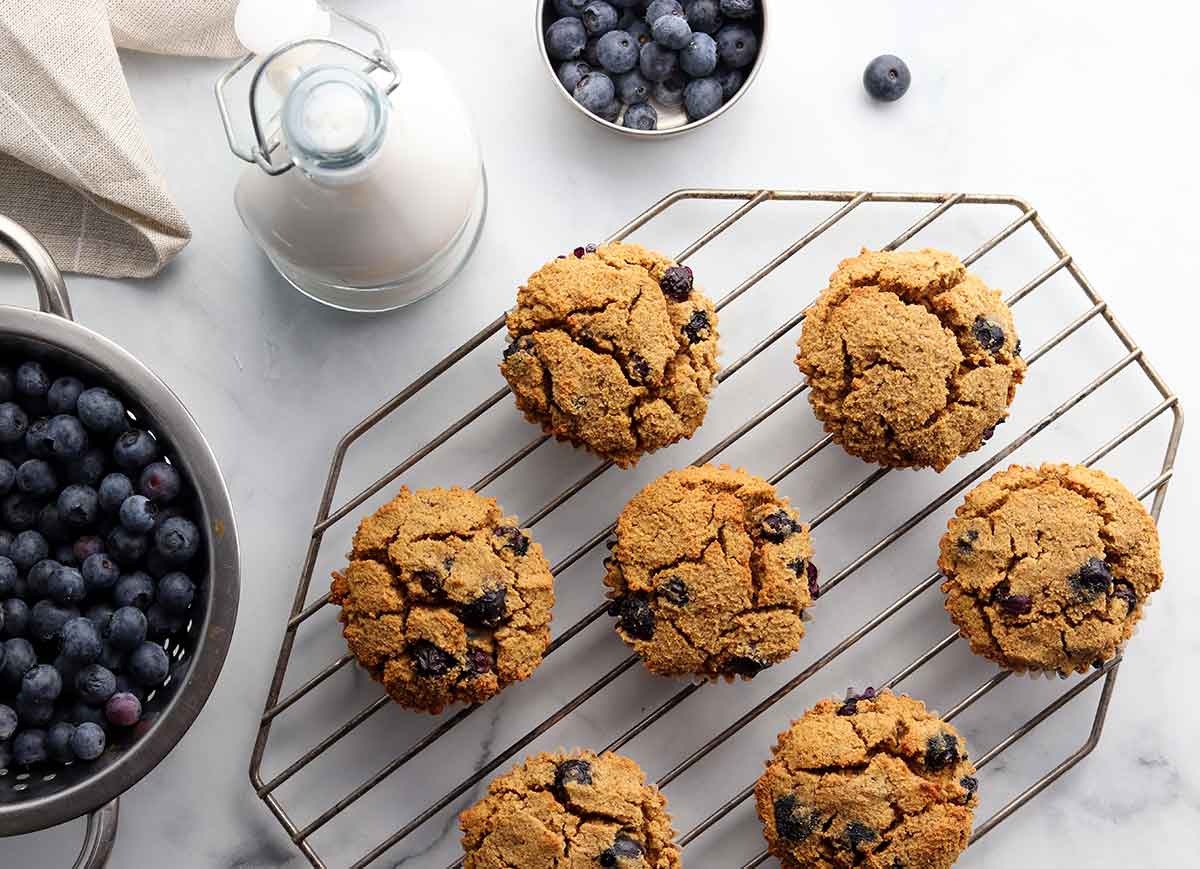
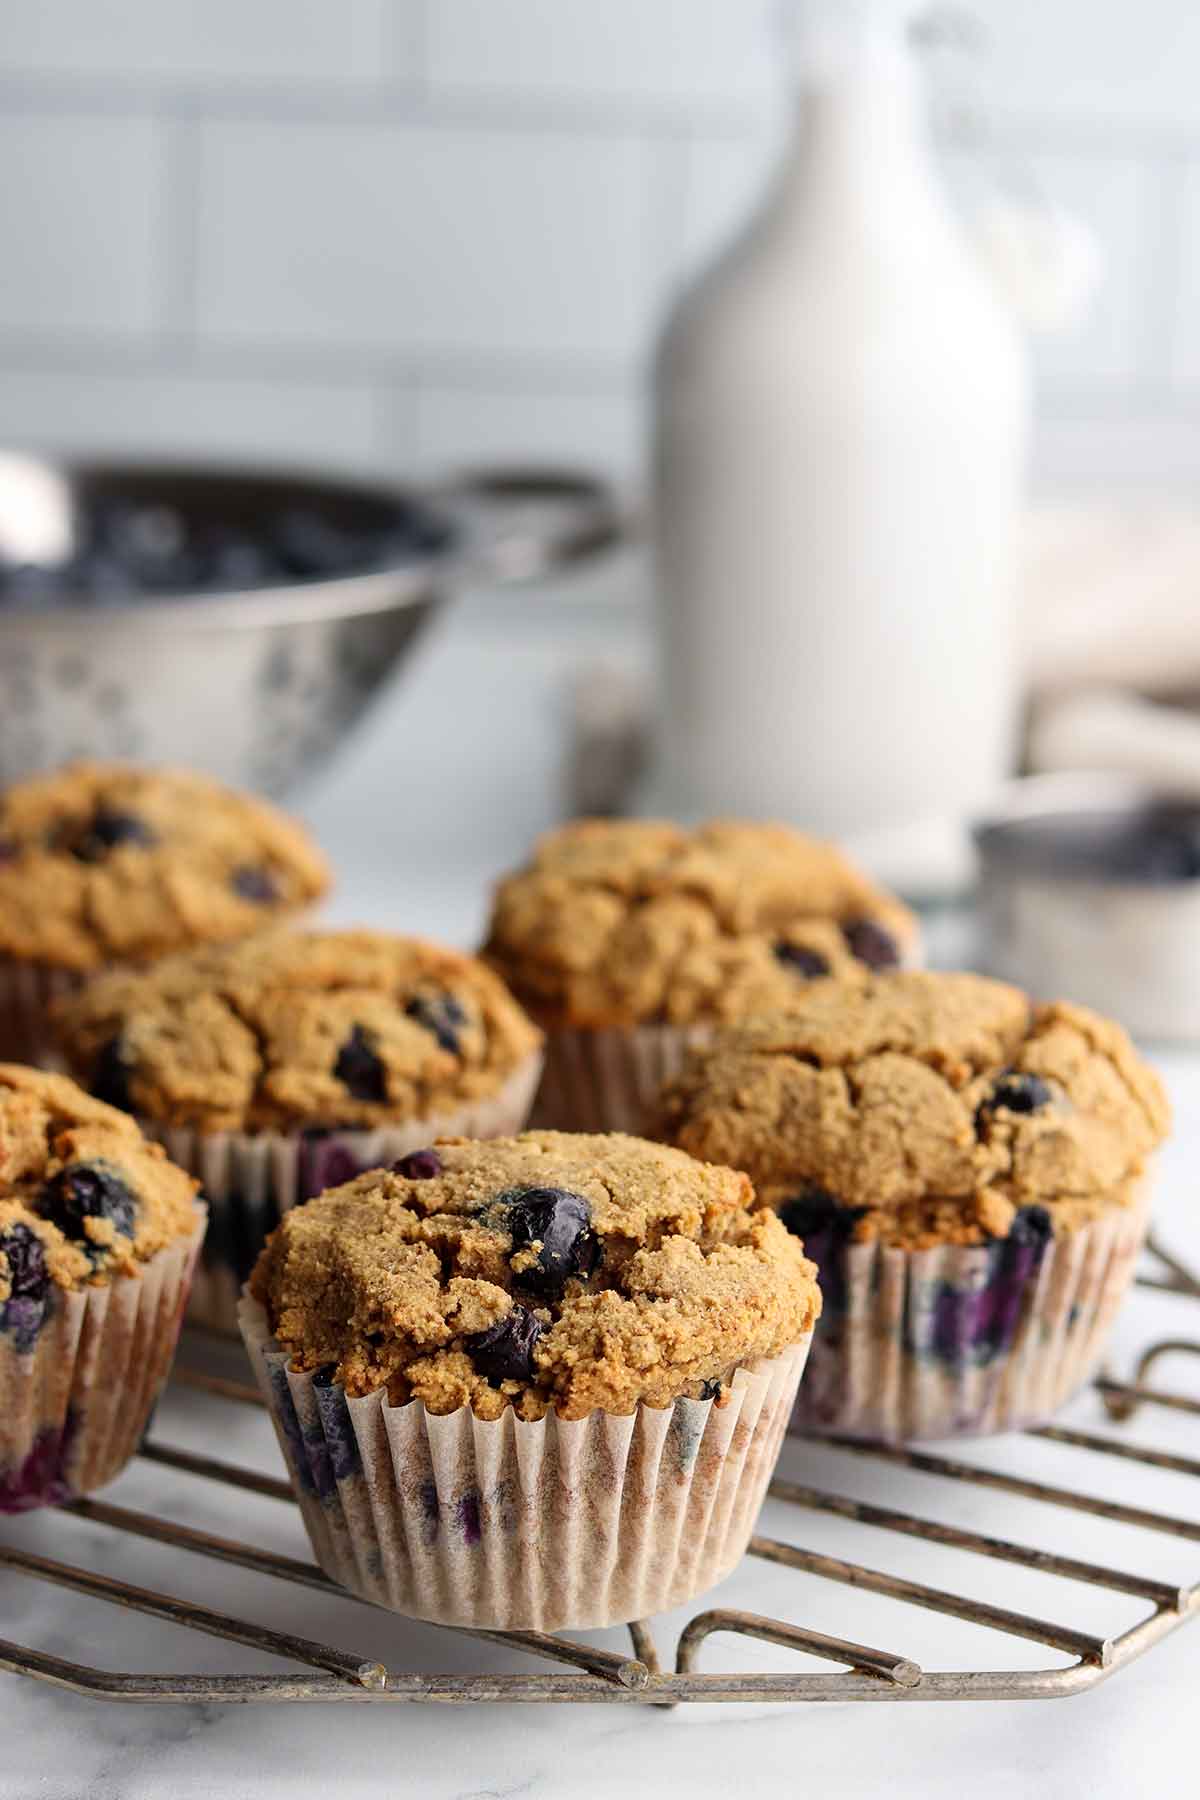
These blueberry muffins have a great fluffy texture and are free of most common allergens. They have just the right amount of sweetness, and are just as good as traditional muffins!
They are inspired by the “Paleo Blueberry Muffins” recipe by Downshiftology, so a big shout out to Lisa for these amazing muffins! Hers use mostly almond flour, whereas mine use mostly tiger nut flour.
Tiger nut flour has quickly come to be my favorite thing to bake with. Tiger nuts have a nutty flavor and are high in fiber, vitamins and minerals. If you have any trouble finding any of the ingredients for this recipe, most health food stores carry them.
These muffins are gluten-free, dairy free, paleo and can be made AIP and elimination diet friendly by swapping the eggs out for egg substitutes.

Recipe ingredient substitutions
Tiger nut flour substitutions: Tiger nut flour is very similar to almond meal, so if you don’t have tiger nut flour or want to make these muffins lower carb, swap the tiger nut flour out one to one for almond meal.
Cassava flour substitutes: Cassava flour comes from a starchy tuber, and is very similar in texture to wheat flour. For this reason, you can also use any other type of starch in its place such as tapioca starch, potato starch, corn starch or arrowroot powder.
Coconut flour substitutes: There aren’t many flours that absorb as much liquid as coconut flour does. So if you don’t have coconut flour, use additional cassava flour and double the amount. So instead of swapping it out for 1/4 cup cassava flour, use 1/2 cup or so of cassava flour.
Egg substitutes: Instead of using eggs, you can swap it out for an egg substitute such as gelatin eggs, flax eggs, or chia eggs.
Dairy free milk substitutes: When I make these muffins, I use whatever dairy free milk I have in the fridge. This recipe works great with coconut milk, almond milk, cashew milk, oat milk or whatever type of milk your heart desires!
Maple syrup substitutes: Instead of maple syrup, you can use any other type of liquid sweetener such as honey or agave syrup. If you want to make it lower sugar, you can swap it out for a sugar-free/keto syrup, or simply swap out the maple syrup for additional dairy free milk. I would not suggest using granulated sugars such as coconut sugar because this will throw off the wet to dry ingredients ratio and may affect the end result of the muffins.
Coconut oil substitutes: Instead of coconut oil, you can use avocado oil, olive oil, vegan butter, or any other cooking oil or fat of your choice.
Vanilla extract substitutes: Instead of vanilla extract, you can also use vanilla paste or vanilla powder. If you do, only use 1/2 to 1 teaspoon because they are a lot stronger in flavour.
Dietary modifications
Make this recipe lower calorie: To make these muffins lower calorie, reduce the amount of coconut oil to 1/8 of a cup and increase the amount of dairy free milk by a bit. You can also lower the amount of maple syrup or omit it completely and replace it with additional dairy free milk. Use a dairy free milk that is lower in calories such as unsweetened almond milk.
Make this recipe AIP friendly: Instead of using a regular egg, swap it out for a gelatin egg. Use coconut milk instead of any other dairy free milk.
Make this recipe elimination diet friendly: Instead of using a regular egg, swap it out for any egg substitute such as a gelatin egg, flax egg or chia egg. All the other ingredients in this recipe are elimination diet friendly.
Make this recipe low histamine: Make sure your vanilla is alcohol free or that you use ground vanilla beans. If you react to eggs, swap them out for a flax or chia egg. Use fresh coconut milk with as few additives as possible.
Make this recipe low lectin: Use coconut milk. Avoid using cashew milk, pea milk, oat milk or soy milk. Otherwise, all other ingredients in this recipe are low lectin.

Storage tips
Store these muffins in the fridge in an airtight container for up to 1 week, or freeze them for up to a few months. Take them out of the freezer to thaw as needed. You can also put them in the microwave on defrost for a few minutes if you don’t have time to wait for it to thaw. This is what I do!
Tried my tiger nut flour muffins recipe?
Please leave me a rating and review below, and post a picture of the dish to Instagram and tag me at @foodsnfeels 🙌
You might also like:
If you liked this recipe, check out my other tigernut flour recipes:
- Tigernut Flour Chocolate Chip Cookies
- Carrot, Apple & Ginger Tiger Nut Flour Cake
- Raspberry Cassava Flour Muffins
- Ginger Molasses Cookie Dough Bites
- Paleo Lemon Poppy Seed Muffins
- Homemade Tiger Nut Butter
If you are looking for more, download one of my free seven day meal plans!

Tiger Nut Flour Blueberry Muffins (Paleo & Gluten Free)
Ingredients
- 2 cups tiger nut flour
- 2/3 cup cassava flour
- 1/4 cup coconut flour
- 1 tsp baking soda
- 1/2 tsp salt
- 3/4 cup dairy free milk
- 2/3 cup maple syrup
- 2 eggs
- 1/3 cup melted coconut oil
- 1 tbsp vanilla extract
- 1 1/2 cups fresh blueberries
Instructions
- Preheat your oven to 325 Fahrenheit
- In a stand mixer or large bowl, mix together all of your dry ingredients including tiger nut flour, cassava flour, coconut flour, baking soda and salt.
- Then add all of your wet ingredients (other than the blueberries) to your flour mixture and mix everything together thoroughly. Make sure to melt your coconut oil and add it into the bowl right before you are going to mix everything together. Otherwise it may start hardening up as it comes in contact with other cold ingredients in the bowl.
- After everything is mixed together, then you can add your blueberries. Pro tip: mix the blueberries in by hand with a spoon. This way they won't break apart and make your muffin batter blue and purple. Or if you don't care about that (I don't!), mix the heck out of them in your stand mixer!
- Line your muffin tin with 12 muffin liners, and using a spoon scoop out the batter evenly amongst the 12 muffin cups.
- Bake your muffins for roughly 30 minutes or until a toothpick comes out clean.
- Set them up to cool and once they come down to room temperature, transfer them into an airtight container in the fridge or freezer. Enjoy!
Video
Notes
Nutrition
Disclaimer: This recipe post contains Amazon affiliate links. This means that if you click on a link and make a purchase, I will receive a small commission (at no extra cost to you). This helps support me so that I can continue to put out high quality, free recipes for you guys! Thank you 😁🙌


 Welcome to my blog! I share my *healthified* comfort food recipes that work with a variety of different diet approaches. AND all of my recipes are 100% gluten and dairy free.
Recent Comments