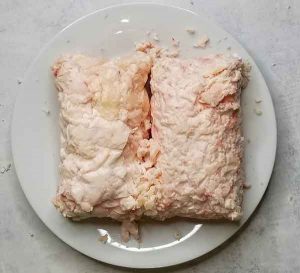
In this post I teach you how to render tallow on the stove from beef suet fat trimmings. All you need for this recipe is beef suet fat and water. I got the beef suet fat trimmings at my local grocery store, but you can also get it from your local butcher or friends who hunt!
If you purchase local pig or cow meat, make sure to ask your butcher to save the fat trimmings and package them up for you. Keep them in the freezer until you are ready to make lard.
Lard can be used as a stable and nutritious cooking fat. Use it to fry/sauté, deep fry, or even in pie crusts (it’s a great alternative in place of butter or coconut oil in baking). The trick to getting a lard that is so mildly flavoured that you can use it in a sweet baking dish is to cook it as low and slow as possible. If the beef suet chunks start rendering at too high of a temperature, they can start to brown and give off more of a “beefy” flavour. You’ll want it to gently render at a super low temperature over the course of multiple hours to avoid this.
Recipe substitutions and variations
Use pig fat instead of beef fat: If you aren’t able to find packaged and frozen beef suet at your local farm, grocery store or butcher, you can also use fat trimmings from pigs or any other wild animal. Beef suet is highest in saturated fat so it will be hard at room temperature. If you use pork fat, it will be soft like butter at room temperature. This is because pork fat is just as rich in monounsaturated fats as it is in saturated fats.
Make this beef tallow in a slow cooker instead of on the stove: Instead of cooking your beef suet low and slow on the stove, you can also use your slow cooker. Put your beef suet and water in your slow cooker and set it to the lowest setting for 4 hours. Check and stir it regularly while it’s cooking to prevent it from burning. Make sure to turn off your slow cooker as soon as you start to notice the suet chunks start to brown or if you start to smell a more “beefy” aroma coming off it. This means it’s done.
Double or triple this recipe: If you want more bang for your buck, you can double or triple this recipe. If you do use more fat, make sure that you use a large pot and allow more time to slowly render it on the stove. More fat in the pot means a longer time to render it down. Instead of taking around two hours to render, it may take three or four hours. Either way, just cook it as low and slow as possible. Strain it as soon as the fat trimmings have broken down into tiny little pieces, or the fat starts browning or having a stronger aroma. Stir often while cooking.
Pro tips for this recipe:
Make sure you cut off all the little chunks of meat from your beef suet: The trick to making your lard as tasteless as possible is making sure that no meat scraps and bits go into the pot. You want your fat chunks to be as pure and white coloured as possible.
Render the beef suet as low and slow as possible: To get a mild flavored beef tallow, it’s super important to cook it at the lowest temperature possible and as slowly as possible. If you have a “simmer” burner on your stove, use that on the lowest setting.
Use a thick, good quality pot: I have made lard in the past with a really thin, cheap pot and I found it was getting too hot and starting to burn, even on the lowest temperature of my stove. So it’s important to use a thick, good quality pot so that the heat distributes evenly and keeps the fat from overheating.
Frequently asked questions
What can I use beef lard for?
Beef lard is great for deep frying because of it’s high smoke point. High end steakhouses will use their own beef tallow to make their french fries. It’s also a main ingredient in traditional mince meat pies! This traditional fat is liquid gold!
Where can I buy leaf fat, beef suet, or tallow to make lard?
If you can’t find it at the grocery store in the frozen food section, your local butcher shop will happily sell you beef trimmings. These will be the leftovers from beef briskets and various cuts of beef which are sometimes difficult to sell.
How long does it last?
If done correctly, it’s got a long shelf life because it’s pure fat. There’s nothing to go bad unless bits of meat get in when you strain it. If you store it in your freezer, it should last a year or longer.
Tried my beef tallow recipe?
Please leave me a rating and review below, and post a picture of the dish to Instagram and tag me at @foodsnfeels 🙌
You might also like
If you liked this recipe, check out my other nose to tail recipes:
If you are looking for more healthy recipes, download one of my free seven day meal plans!
How to Make Beef Tallow
Equipment
Ingredients
- 1000 grams beef suet fat (or 2.2 pounds)
- 1/3 cup filtered water
Instructions
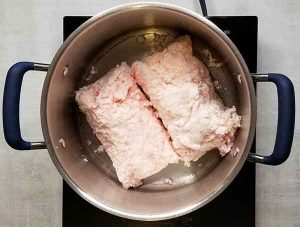
- Make sure your beef suet trimmings are cut into really small pieces, and that all of the meat bits and pieces have been removed. Your beef suet chunks should be as pure and white as possible. Also, a meat grinder or food processor is a great way to get really little bits. Just make sure your chunks of fat are frozen so that they break down in the grinder easier.
- Put your beef suet fat trimmings into a large, thick, good quality stock pot. Place it on low heat. Set it at the lowest possible setting! High heat will cook whatever meat bits are attached and give your suet a meaty taste which can be off-putting.
- Break down the beef suet fat trimmings as much as possible in the pot.
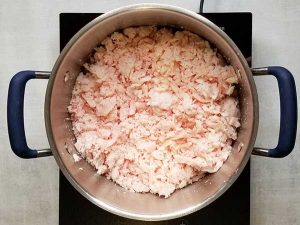
- The animal fats will slowly start heating up and you will notice the rendering process beginning to start as the liquid fat begins to come out. Make sure to stir your lard as much as possible to keep it from burning or starting to brown too much.
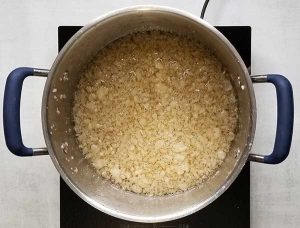
- Slowly the solid fat will start breaking down more and more until the fat trimmings are tiny little chunks.
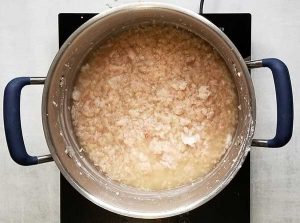
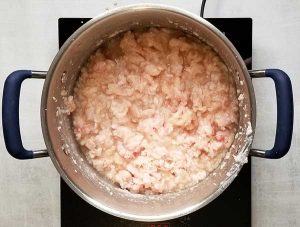
- Once the rendered fat starts showing signs of getting browner or having more of a “beefy” aroma, your lard is probably done and ready to be filtered.
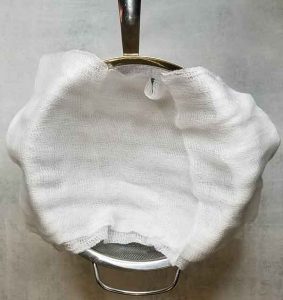
- Line a large fine mesh strainer with a few layers of cheesecloth (anywhere from 2-4). Put this on top of a large glass bowl to catch the lard when it comes through (a coffee filter or paper towel will also work).
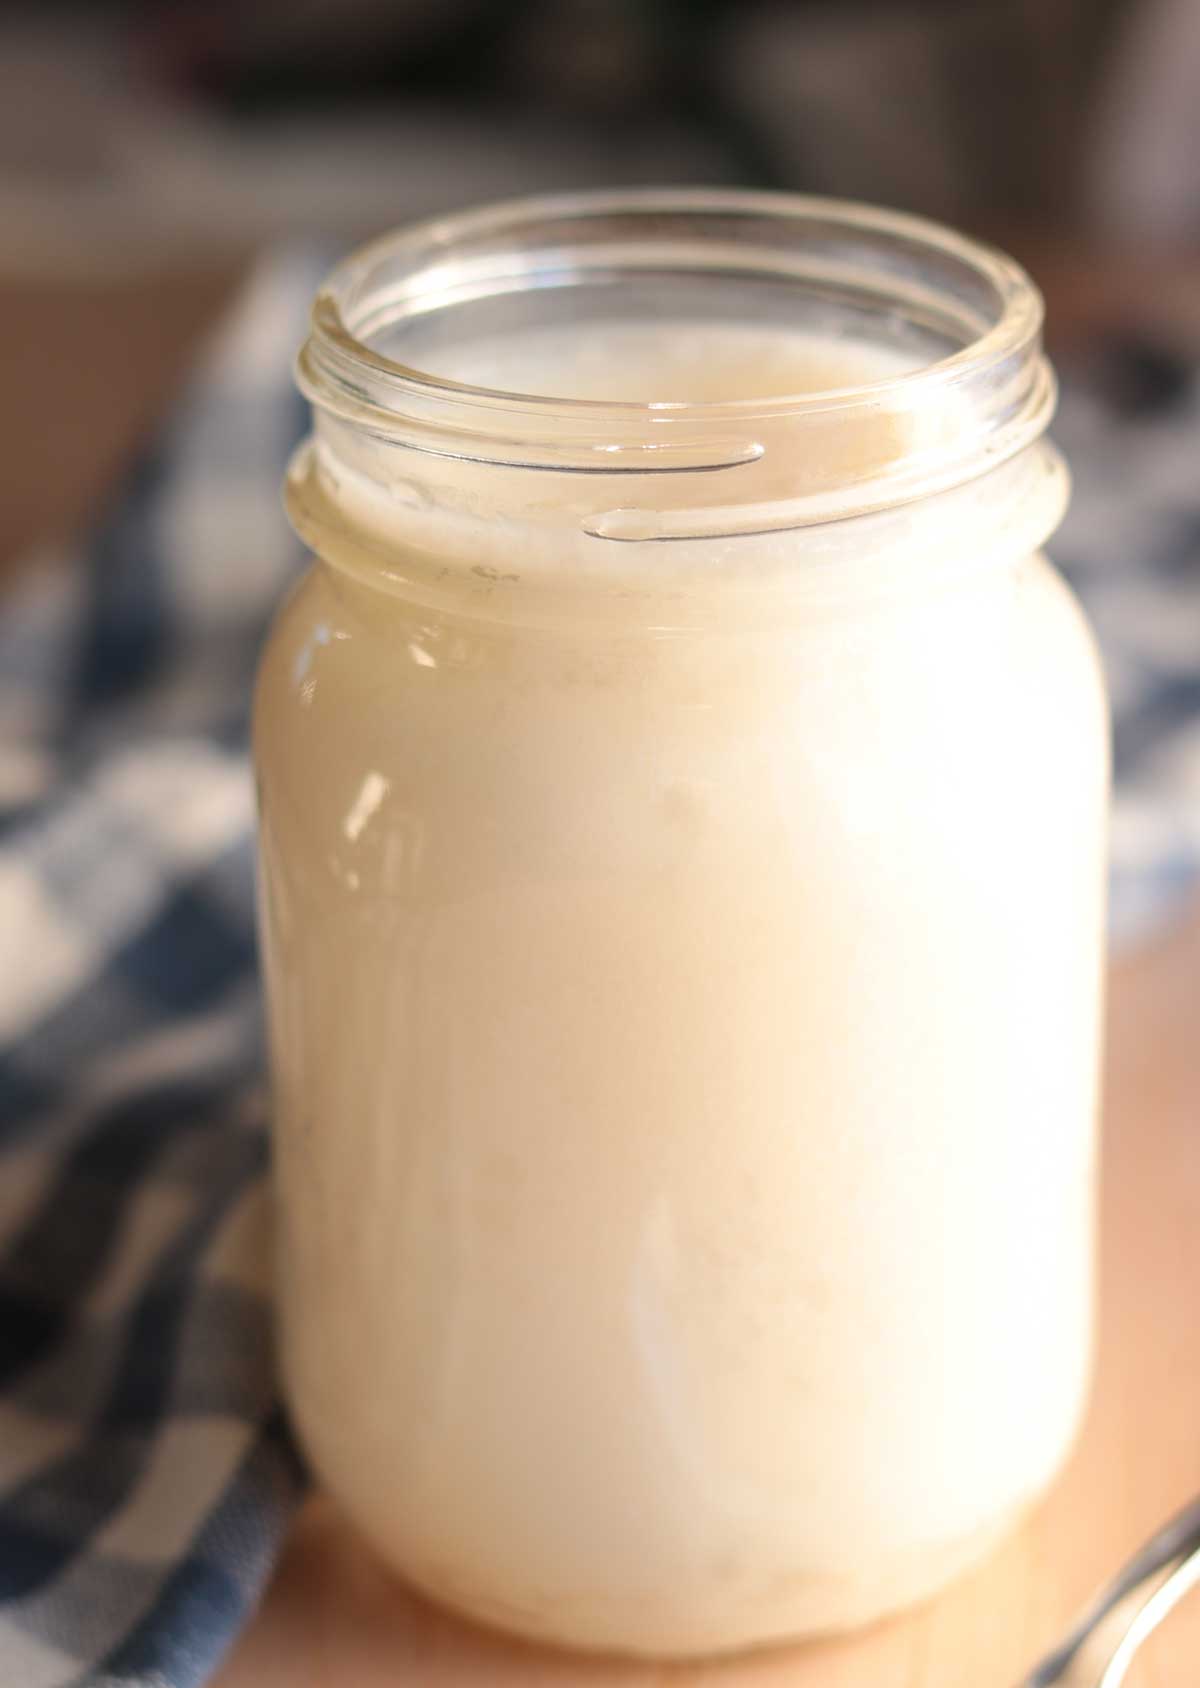
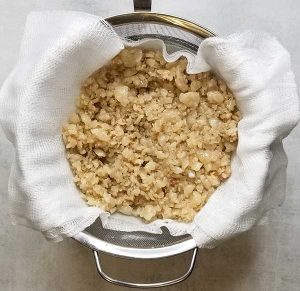
- Gently pour all of the fat trimmings and lard through the cheesecloth lined strainer into the large bowl. Spread the fat trimmings out in your cheesecloth lined strainer, and push down on the fat with a large spoon to get as much of the lard through as possible. Let it sit and drain for at least 10 to 15 minutes or until the dripping starts to slow down or stop.
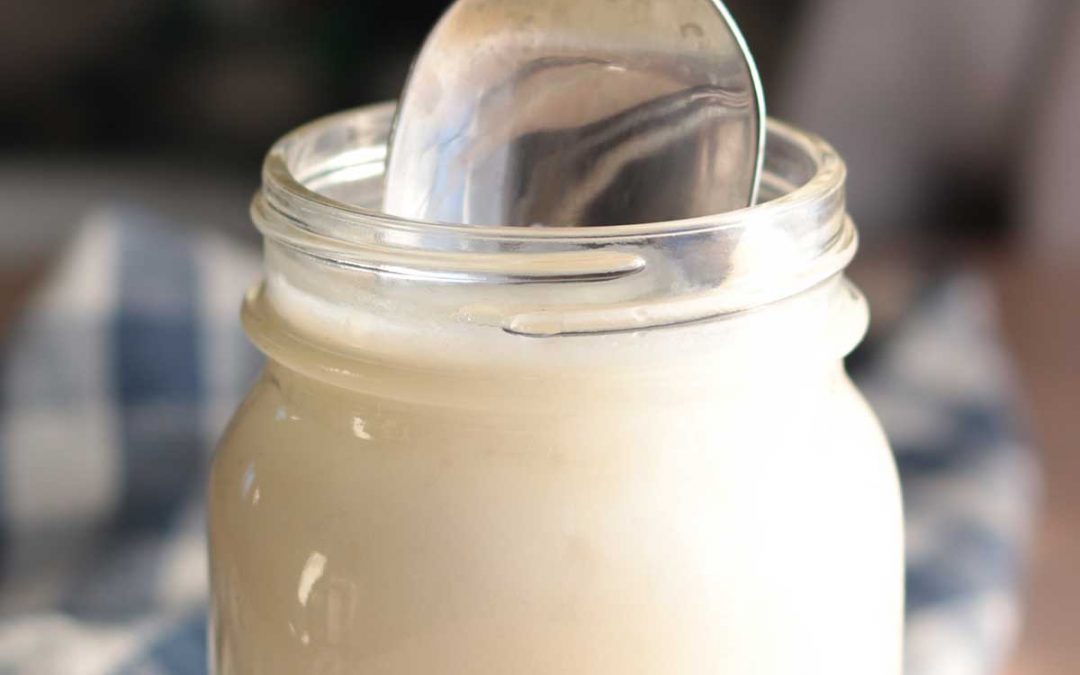
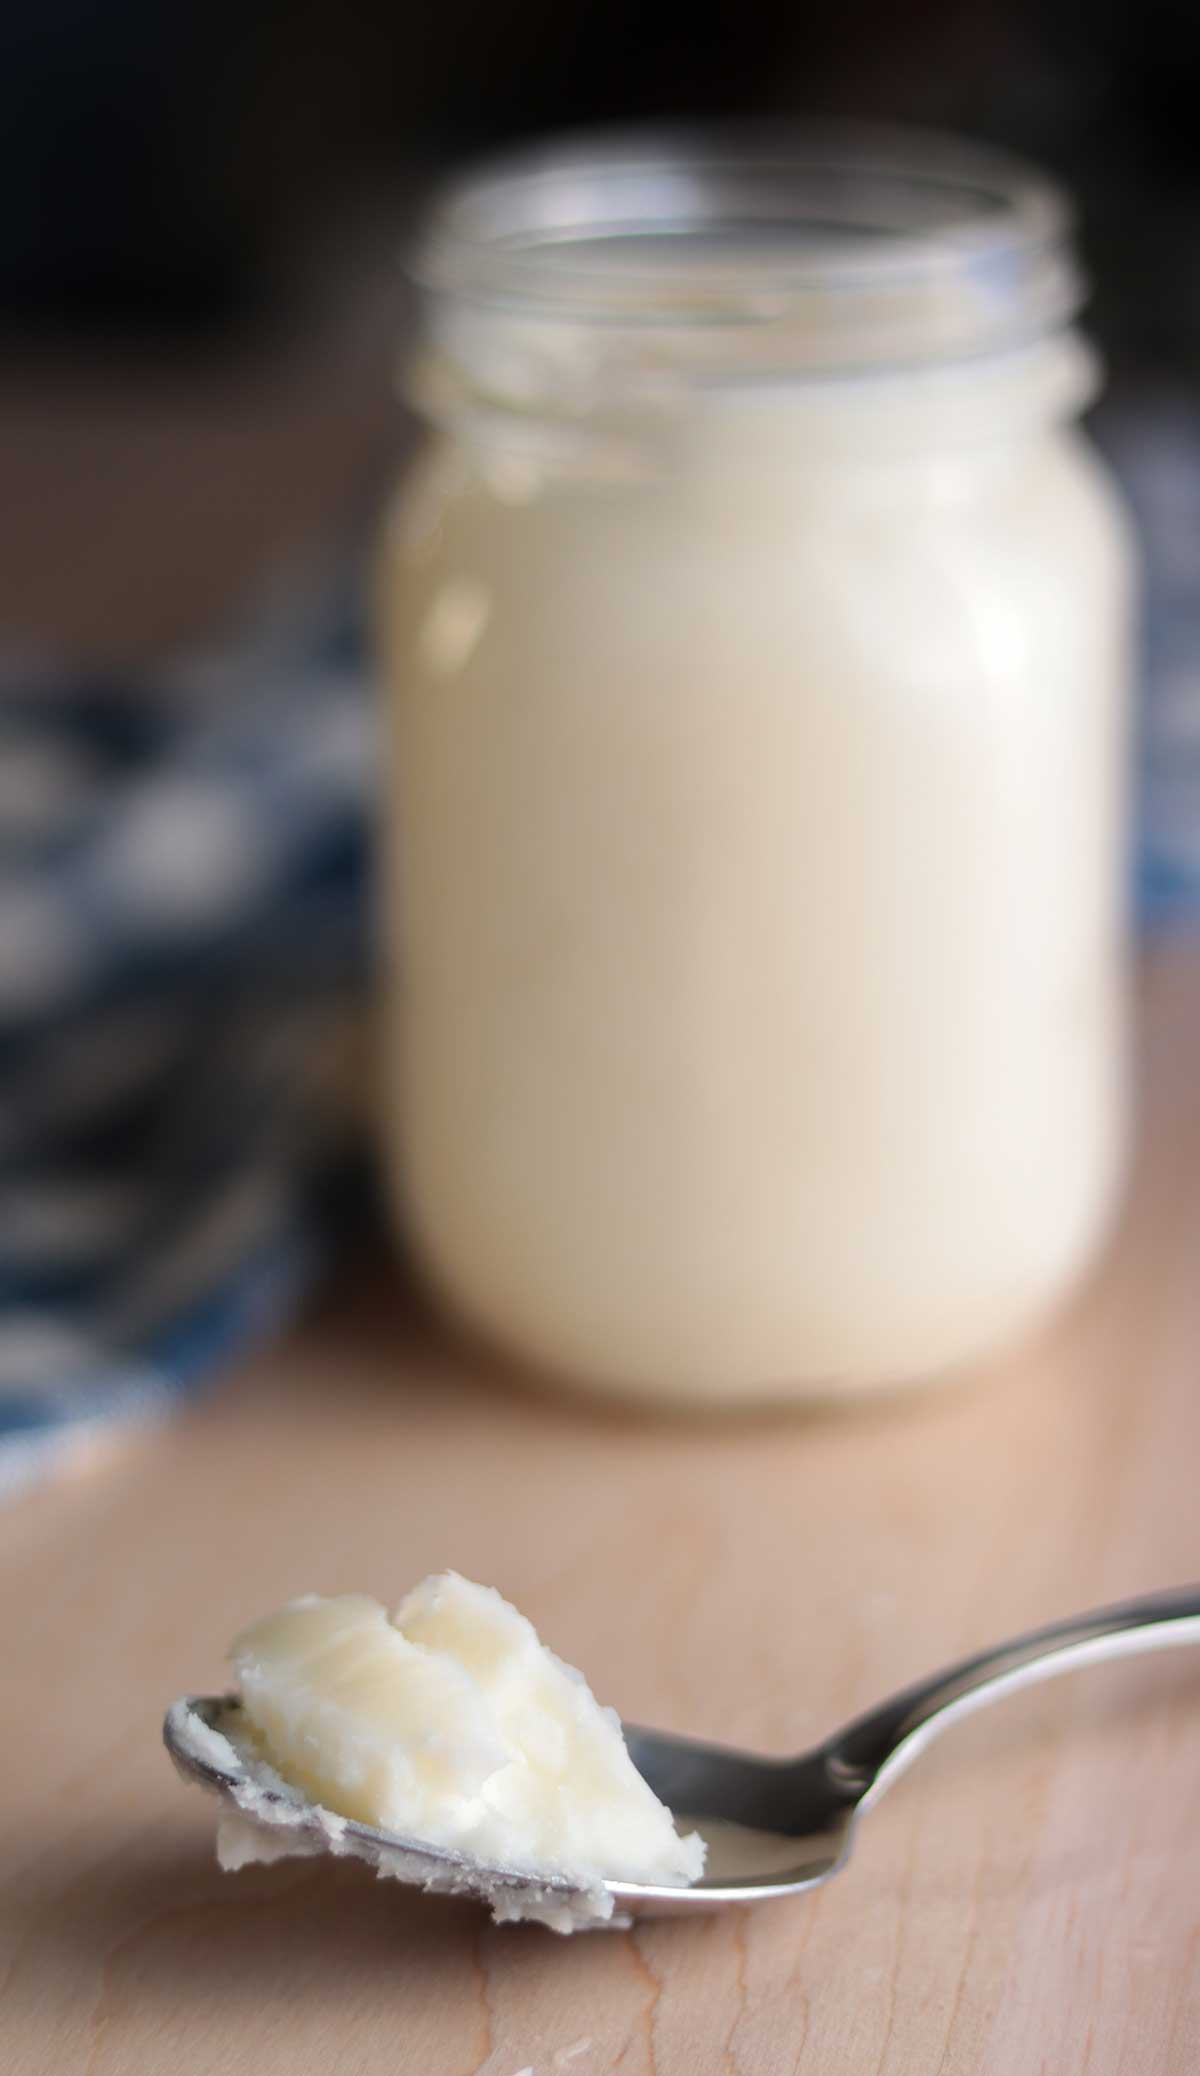
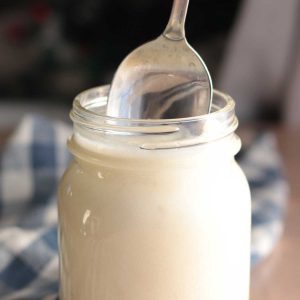
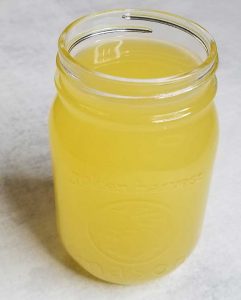
- Remove the strainer and pour your liquid lard into a mason jar. Let it cool, uncovered, for a few hours or until the lard hardens up and becomes a lot lighter in colour. At this point you can seal the lard and keep it in the fridge. You can also keep it on the counter but if you do, make sure to use it up quickly.
Video
Notes
Nutrition
Disclaimer: This recipe post contains Amazon affiliate links. This means that if you click on a link and make a purchase, I will receive a small commission (at no extra cost to you). This helps support me so that I can continue to put out high quality, free recipes for you guys! Thank you 😁🙌

Tara Klippert is a Registered Health and Nutrition Counselor and holds a diploma in Holistic Nutrition and Health Coaching. She shares her gluten free, dairy free & allergy friendly recipes.
 Welcome to my blog! I share my *healthified* comfort food recipes that work with a variety of different diet approaches. AND all of my recipes are 100% gluten and dairy free.
This was my first time rendering suet into tallow and there were so many organs it couldnt all be cut out, and gave a overwhelming aroma of beef at the end i strained but we few little meaty bits ended up in the jar. Is there any saving it?