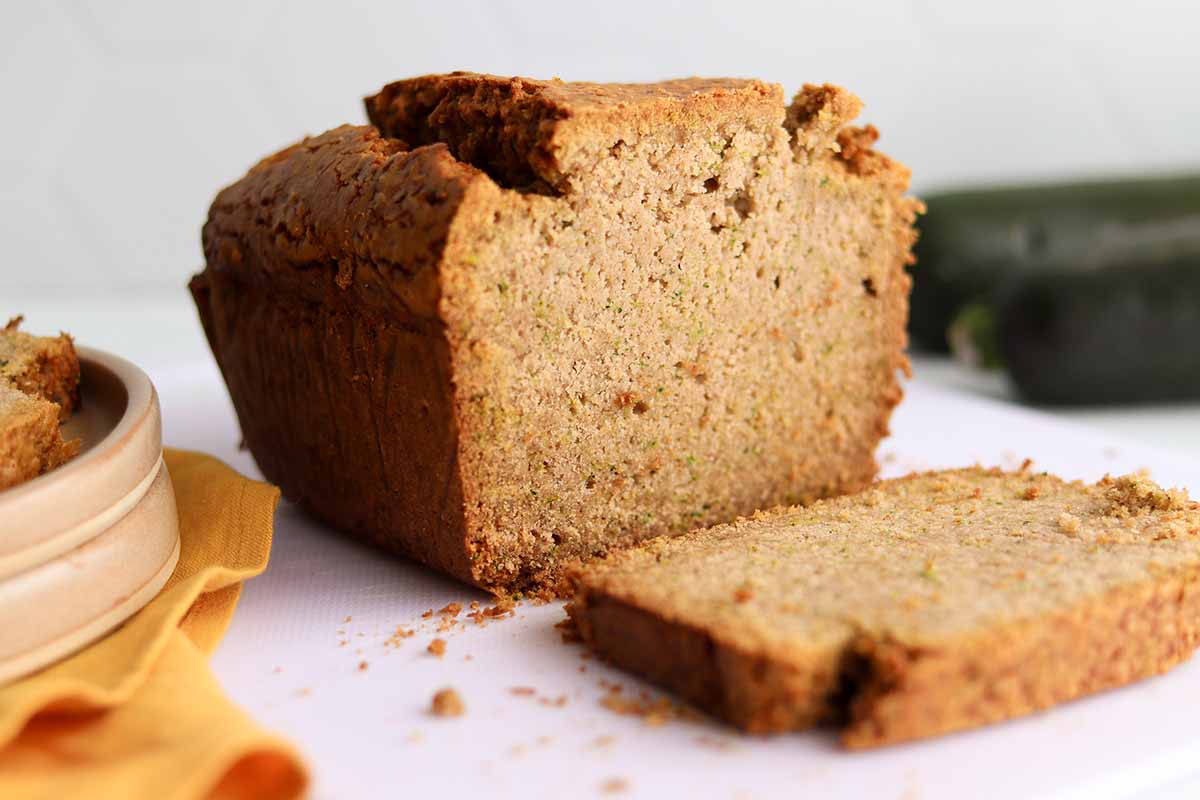
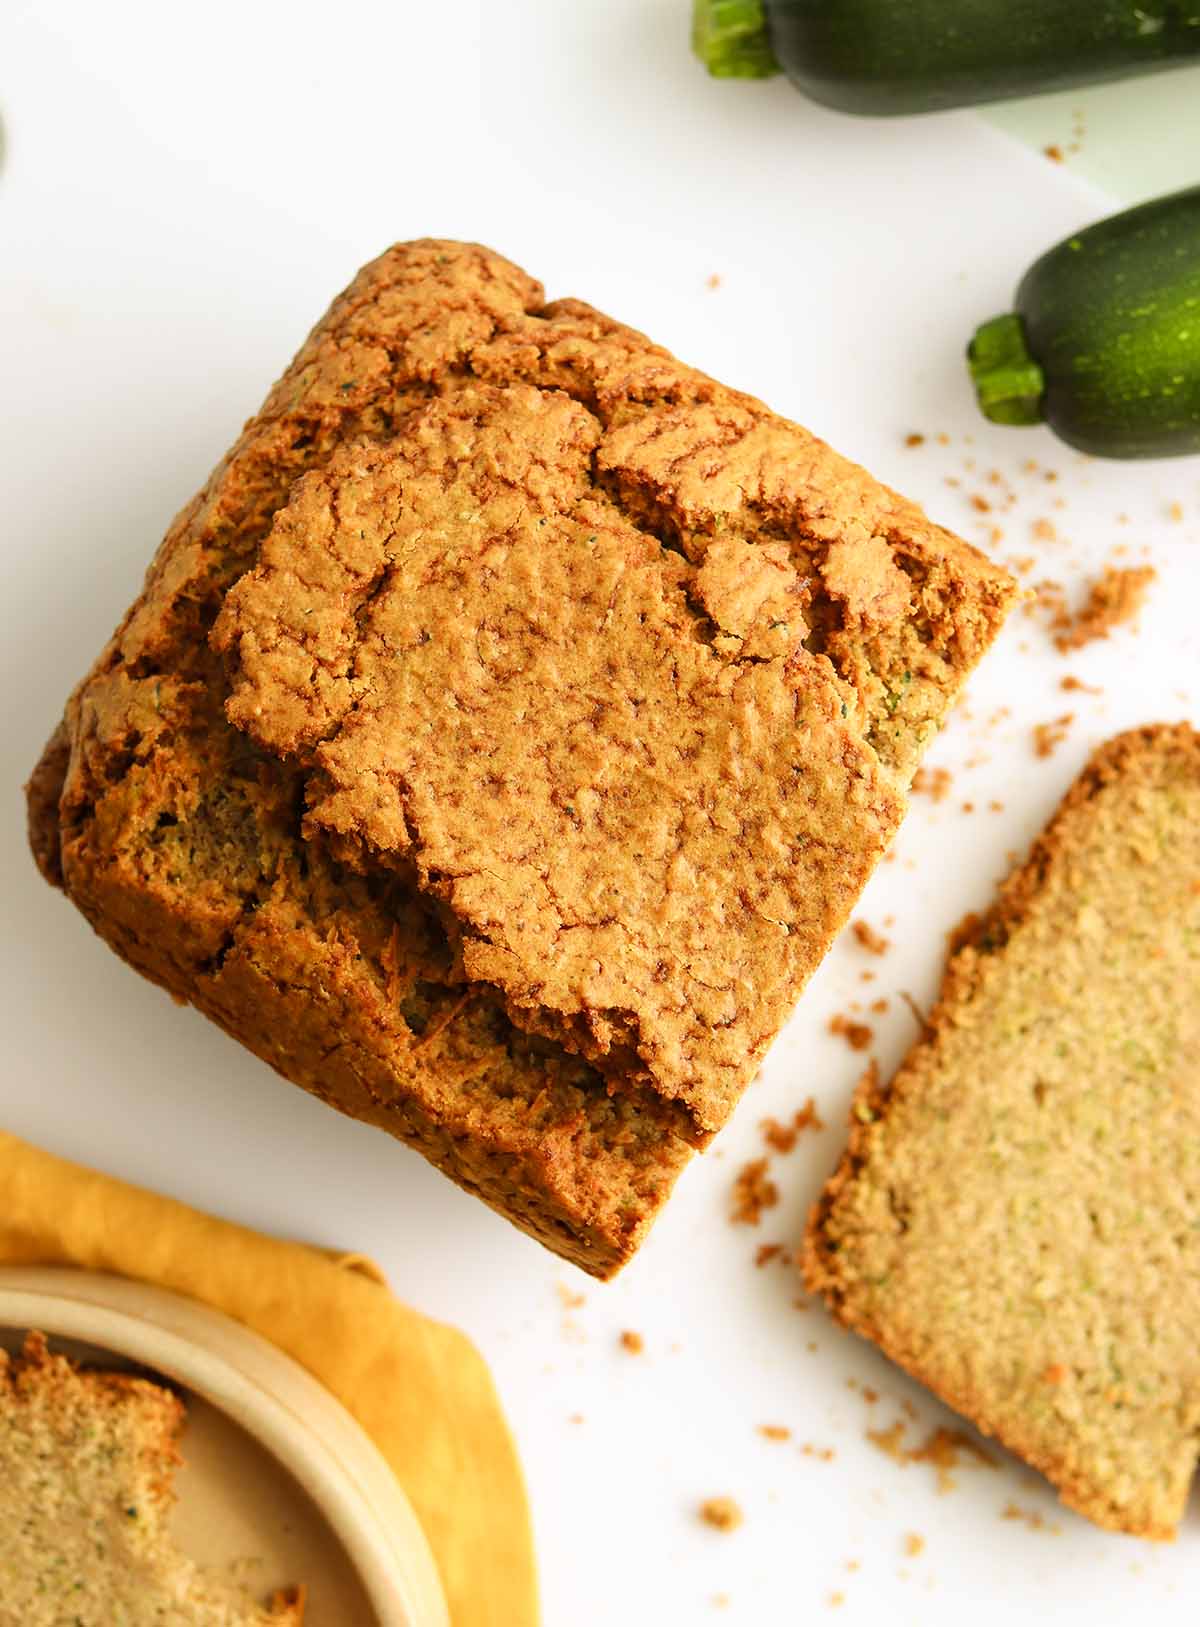
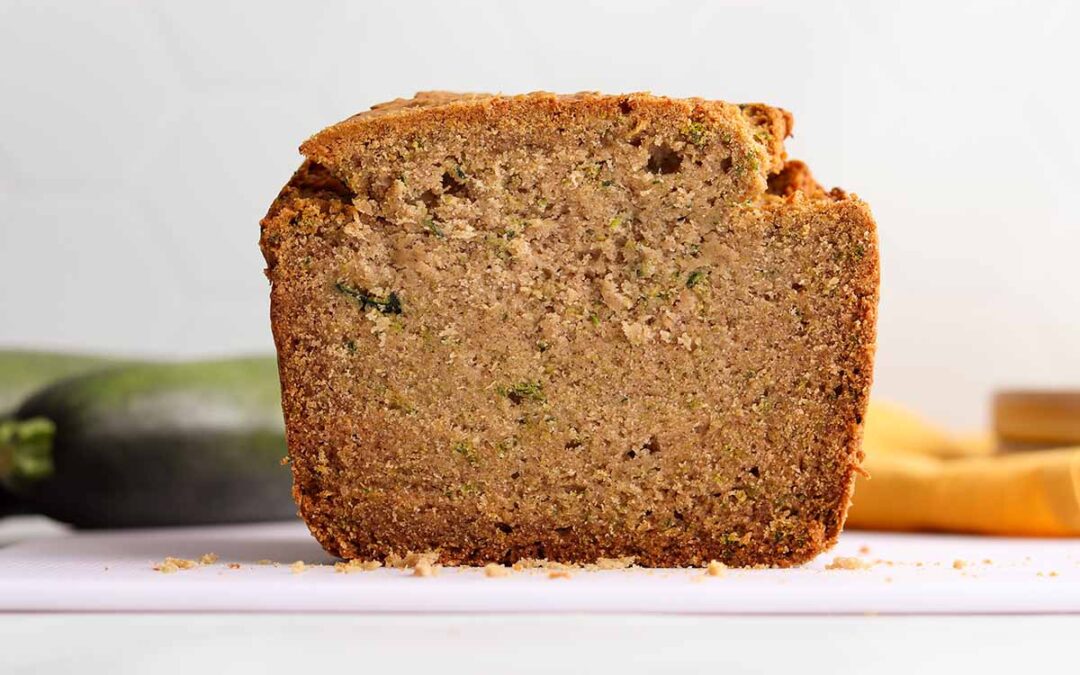
This zucchini bread is super moist and tasty, easy to make, and contains simple ingredients that you can find in all grocery stores. It’s also a great way to use up all of your zucchinis from the garden during zucchini season!
This recipe is gluten-free and dairy free, and below I provide modifications to make it vegan, paleo, lower carb/sugar, and elimination diet friendly.
This recipe is adapted from Mom’s Zucchini Bread From All Recipes.
Recipe ingredient substitutions
Gluten-free flour blend substitutions
I personally like to use the Robin Hood brand gluten-free flour blend which contains rice flour, potato starch, tapioca starch and xanthan gum. I find it the most similar in taste and texture to regular white all purpose flour. But you can use other gluten-free flours such as rice flour (white or brown), oat flour, or grain free flour such as almond flour or cassava flour. You can also use a blend of mostly almond flour and a small amount of coconut flour.
Baking soda substitutions
Instead of 1 1/2 teaspoons baking soda, swap it out for 1 tablespoon baking powder.
Cane sugar substitutions
In this recipe I used granulated raw organic cane sugar, but any granulated sugar would work – brown sugar, white sugar, coconut sugar, or a sugar-free alternative such as swerve.
I would stay away from liquid sweeteners such as maple syrup because it will change the ratio of wet ingredients to dry ingredients and will likely affect the end result.
Egg substitutions
Instead of using regular eggs, swap it out for egg substitutes such as chia, gelatin or flax eggs. These days at grocery stores you can find a number of different egg replacers from the refrigerated section as well as the natural foods aisle. You may need to bake your zucchini bread for a bit longer if you use egg substitutes. That has been my experience anyways!
Coconut oil substitutions
Instead of using melted coconut oil, swap it out for avocado oil, light tasting olive oil, butter or even canola oil / vegetable oil.

Recipe variations
Add chocolate chips
Make chocolate zucchini bread by adding around 1 cup of chocolate chips. If you want to keep it dairy free, check the packaging to make sure there is no milk.
Make muffins instead of bread
Make gluten-free zucchini muffins by lining a muffin pan with parchment liners and evenly distributing the zucchini bread batter amongst them. I’ve never tried this myself so I’m not sure how many it would make. Start by baking them for 30 minutes and go from there.
Make 2 loaves instead of 1
If you want to make 2 loaves instead of 1, it bakes in only half the time. 1 loaf takes around 1 hour 30 minutes at 325°F. 2 loaves take around 45 minutes.
Instead of 1 loaf pan, you’ll want to prepare 2 loaf pans by either lining them with parchment paper or greasing them with additional coconut oil or other cooking oil of choice.
Evenly distribute the batter amongst your 2 loaf pans. Use a rubber spatula to smooth out the top of the loaves.
Bake your loaves for around 45 minutes. Check whether they are done by poking them with a toothpick. If it comes out clean they are done. If not, put them in for an additional 5 – 10 minutes and check again.
Dietary modifications
Make this recipe lower calorie
Instead of using 1 cup of coconut oil, you can swap it out for dairy free milk such as almond milk, cashew milk, oat milk, or coconut milk. Or, you can just swap out half the oil for milk.
You can also swap out the granulated sugar for a calorie free sugar substitute such as swerve.
Make this recipe vegan
Swap out the eggs for vegan egg substitutes such as chia or flax eggs. At the grocery store you can also find other powdered and liquid vegan egg replacers.
Make this recipe lower carb/sugar
Swap out the granulated cane sugar for a sugar substitute such as swerve. You can also swap out for 1/4 teaspoon of stevia powder, or a few drops of stevia liquid. You may find the consistency of the batter changes a bit though because you are going from 1 cup of sugar down to almost nothing so it may throw off the wet to dry ingredients ratio.
You can also swap out the gluten-free flour for almond flour. This will make it much lower carb.
Make this recipe lower oxalate
Make sure to use 100% white rice flour. Omit or greatly reduce the cinnamon.
Make this recipe elimination diet friendly
Swap out the eggs for egg substitutes such as chia, gelatin or flax.
Make this recipe paleo/grain free
Make paleo zucchini bread by swapping out the gluten-free flour blend for 2 1/4 cups of cassava flour.

Recipe pairings
This zucchini bread tastes great with:
- chocolate ganache or frosting
- cream cheese frosting
- coconut whipped cream
- butter, vegan or regular
- vanilla ice cream
Storage tips
After your zucchini bread has come down to room temperature and you’ve transferred it to a cutting board and sliced it, store it in airtight containers in the fridge for up to 3 – 4 days. It will last much longer in sealed containers in the freezer.
If you freeze it, when you are ready to eat it, take it out of the freezer the day before and let it thaw in the fridge. Or you can put it in the microwave and defrost it.
I recommend heating it up in the microwave for about 20 – 30 seconds when eat it. It will taste like it’s freshly baked right out of the oven!
Tried my gluten free zucchini bread recipe?
Please leave me a rating and review below, and post a picture of the dish to Instagram and tag me at @foodsnfeels 🙌
You might also like
If you liked this recipe, check out my other gluten-free bread recipes:
If you are looking for more recipes, download my free 7 day gluten & dairy free meal plan!

Gluten-Free Zucchini Bread Recipe
Equipment
Ingredients
- 3 cups gluten free flour (I recommend Robin Hood brand)
- 1 cup organic cane sugar
- 1 tsp sea salt
- 1 1/2 tsp baking soda
- 2 tsp cinnamon
- 1/8 tsp nutmeg
- 4 eggs
- 1 cup melted coconut oil
- 1 tbsp vanilla extract
- 2 cups grated zucchini WITH LIQUID (roughly 2 zucchinis)
Instructions
- Preheat your oven to 325°F.
- Start by shredding your fresh zucchini in your food processor (with grating attachment) or with your box grater onto a cutting board.
- Transfer your shredded zucchini with the liquid over to a large bowl. This part is super important! Some other recipes call for removing the excess moisture, but this recipe really relies on the liquid from the zucchinis to get the perfect texture. As your shredded zucchini sits, some additional moisture will come out. That is good.
- Then in your stand mixer or a second large bowl, mix together all of your dry ingredients including the gluten-free flour, salt, baking soda, cinnamon, sugar and nutmeg. Lightly blend these together.
- Then add your wet ingredients including eggs, melted coconut oil and vanilla.
- Mix thoroughly until everything is blended together and you've gotten as many of the lumps out as you can.
- Next add your shredded zucchini with the excess water into your batter.
- Mix thoroughly. You will notice that your batter is now similar to the thickness and consistency of pancake batter.
- Next you'll want to prepare your bread pan. NOTE: above in the blog post I provide instructions on making 2 loaves instead of one.
- Line your glass bread loaf pan with parchment paper, or grease it thoroughly with coconut oil.
- Using your rubber spatula, scrape your batter into your parchment lined or greased loaf pan.
- Bake your zucchini loaf for roughly 1 hour 30 minutes, starting to check at 1 hour 15 minutes or so. Use a toothpick to poke it and if the toothpick comes out clean it is done. The bread should be golden brown on top and the center of the loaf should be cooked through completely.
- Transfer your loaf over to a wire rack and let it come down to room temperature before you attempt removing it from the pan.
- Gently pull on the sides of the parchment paper to remove it and transfer it to a cutting board. Cut up your bread slices and serve.
- Store your zucchini bread in the fridge for up to 3 – 4 days, or in the freezer in an airtight container for much longer.
Notes
Nutrition
Disclaimer: This recipe post contains Amazon affiliate links. This means that if you click on a link and make a purchase, I will receive a small commission (at no extra cost to you). This helps support me so that I can continue to put out high quality, free recipes for you guys! Thank you 😁🙌


 Welcome to my blog! I share my *healthified* comfort food recipes that work with a variety of different diet approaches. AND all of my recipes are 100% gluten and dairy free.
Recent Comments