
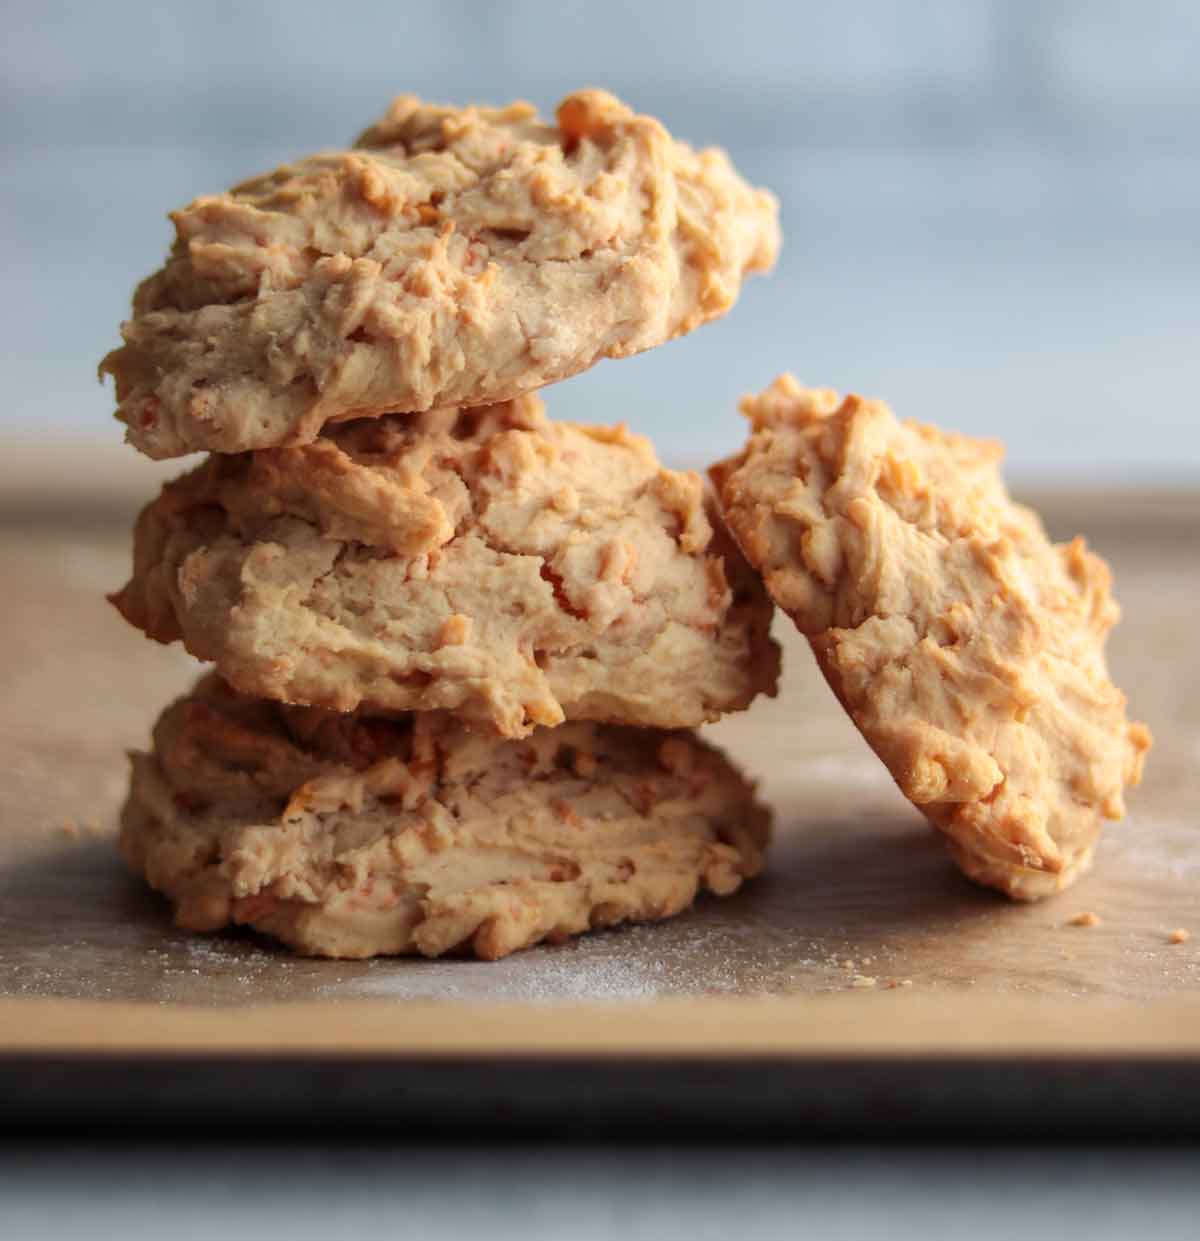
These homemade biscuits are dairy & gluten free and can be made vegan with an egg substitute. They are fluffy and cheesy and go great with soup, stew or just as a snack. I personally like them more than regular biscuits, and one of the perks of gluten-free baking is that you don’t have to worry about over-kneading the dough.
Products I recommend for this recipe
Robin Hood gluten-free flour blend
Daiya cheddar style shreds
Earth Balance soy free buttery spread
Recipe ingredient substitutions
Gluten free flour substitutions: If you aren’t able to find the Robin Hood gluten-free flour blend, you can swap it out for rice flour or any other blend. Try to look for a blend that contains rice flour, potato starch, tapioca starch and xanthan gum. This will give you the most consistent result, but any gluten free flour mixture will work. You can also swap it out for 1 to 1.5 cups of cassava flour. If you use cassava flour, you will need less than the 2 cups that this recipe calls for because it absorbs a lot more liquid.
Butter substitutions: Instead of vegan butter, you can also use regular cow’s milk butter if you tolerate dairy. Feel free to use any brand of oil-based vegan butter. I have found that cashew based vegan butter doesn’t give a consistent result.
Dairy free cheddar shred substitutions: Instead of using dairy free cheddar style shreds, you can also use dairy free parmesan shreds or mozzarella shreds. Feel free to also use regular cow’s milk cheddar cheese shreds if you tolerate dairy.
Dairy free milk substitutions: I often use oat milk in my baking, but you can use coconut milk, almond milk, cashew milk, macadamia milk, etc.
Egg substitutions: Instead of using regular eggs, feel free to use an egg substitute such as chia, flax or gelatin eggs. If you use an egg substitute, you may need to bake the biscuits a bit longer than this recipe calls for.
Baking soda substitutions: Instead of 1 teaspoon baking soda, use 2 teaspoons baking powder.
Recipe variations
Make extra fluffy biscuits: If you want a biscuit that is cartoonishly light and fluffy, replace a bit of the milk with apple cider vinegar or lemon juice to activate the baking soda. I leave it out of this version because I want flaky biscuits more than really fluffy ones.
Make buttermilk biscuits: Simply add 1 tablespoon of vinegar to the dairy free milk.
Dietary modifications for this recipe
Make this recipe vegan: Omit the egg and replace it with an egg substitute such as chia or flax. Voila! Vegan biscuits.
Make this recipe lower oxalate: Make sure to use coconut milk and ensure that your dairy free cheese shreds and butter do not contain cashews. Use a white rice based flour blend.
Make this recipe paleo/grain free: Swap out the 2 cups of gluten-free flour for 1 to 1.5 cups of cassava flour.
Pro tips for this recipe:
Make sure you melt the butter
For this recipe, it is super important that you melt the butter before adding it to your mixer. Otherwise, it can be hard to break down/mix in and it will change the consistency of the dough and make it more dry and crumbly.
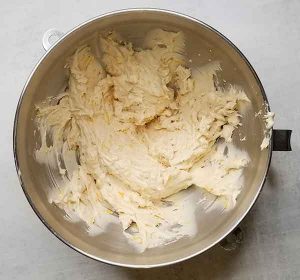
Make sure your dough is wet and sticky
If your biscuit dough seems too dry, add some additional dairy free milk until you have achieved a wet and sticky consistency. Your dough also should not be too runny.
Make a double batch
These biscuits keep really well in the freezer, so make a bunch. For best results, store them in an airtight container and eat within 6 months.
Recipe pairings
Stew: The obvious choice haha. Eat these with your favorite soup or stew!
Gluten-free sausage gravy: Southern biscuits and gravy! It’s 10am and I now need a nap haha. It’s so good though!
Recipe FAQs
How long do these biscuits last in the fridge?
I recommend eating these biscuits up within 1 week if you are storing them in the fridge. If you need them to keep longer, freeze them in a sealed container or bag for up to three months.
Can I freeze these biscuits?
These biscuits freeze really well. Store them in a sealed container or bag for up to three months.
Do I need a food processor?
Nope! this recipe is more wet than the traditional version so we’re not worried about cold butter and creating rise because we use baking soda. You can skip the pastry blender or food processor here.
Tried my recipe for gluten and dairy free biscuits?
Please leave me a rating and review below, and post a picture of the dish to Instagram and tag me at @foodsnfeels 🙌
You might also like:
If you are looking for something to pair with this biscuits recipe, check out my soup recipes:
- Ham bone split pea soup recipe
- Cream of mushroom soup recipe
- Keto chicken bacon soup
- Moose stew slow cooker recipe
For more biscuit recipes, check out my oat flour biscuits!
Gluten & Dairy Free Cheese Biscuits
Ingredients
- 2 cups gluten-free flour (I recommend Robin Hood)
- 1 tsp baking soda
- 1/4 tsp sea salt (omit if using salted butter)
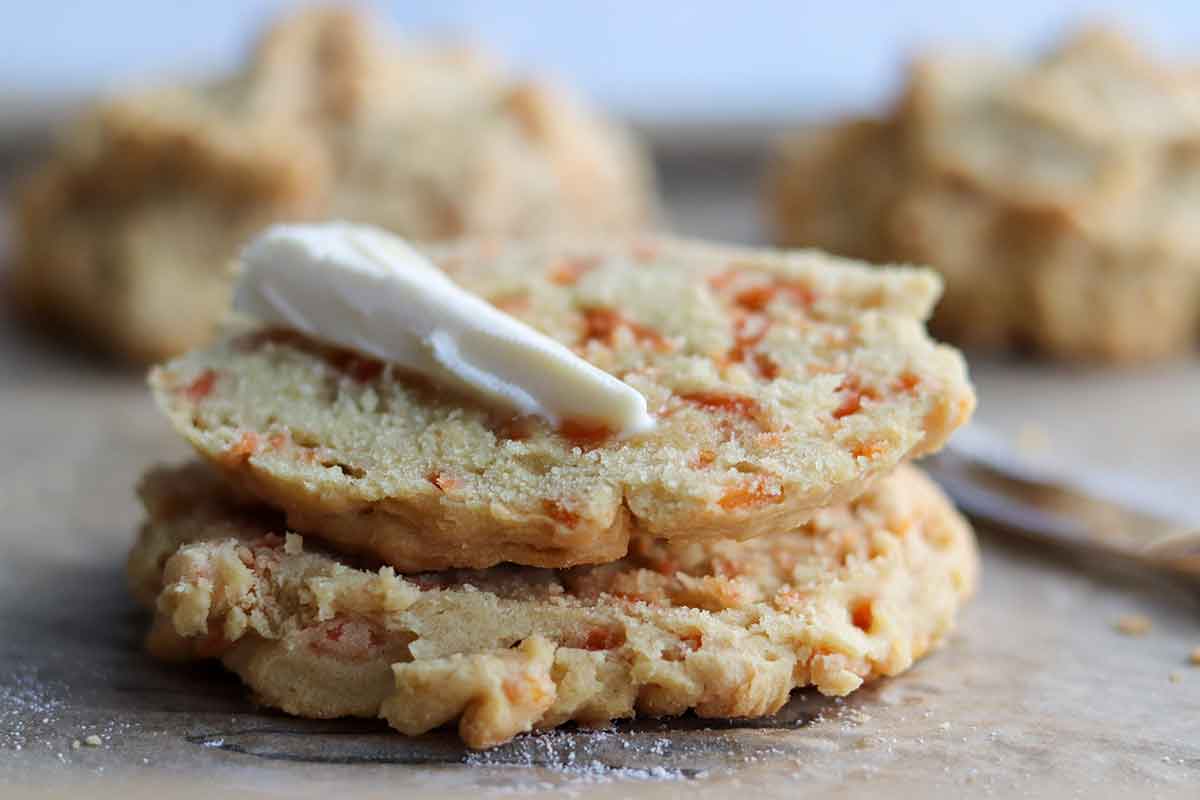
- 1/2 cup melted vegan butter (or butter flavoured coconut oil)
- 1 cup dairy free cheddar cheese shreds
- 2 eggs
- 1-1 1/4 cup dairy free milk
Instructions
- Preheat your oven to 350 Fahrenheit.
- Mix all of your dry ingredients together in a stand mixer or large mixing bowl.
- Add your dairy free cheese shreds and mix.
- Add all of your remaining wet ingredients and mix thoroughly. Your dough should be wet and sticky but not too runny. If your dough seems too dry, add an additional ¼ cup of dairy free milk slowly until you achieve the desired consistency.
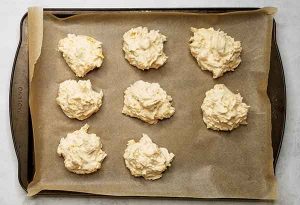
- Line a baking sheet with parchment paper.
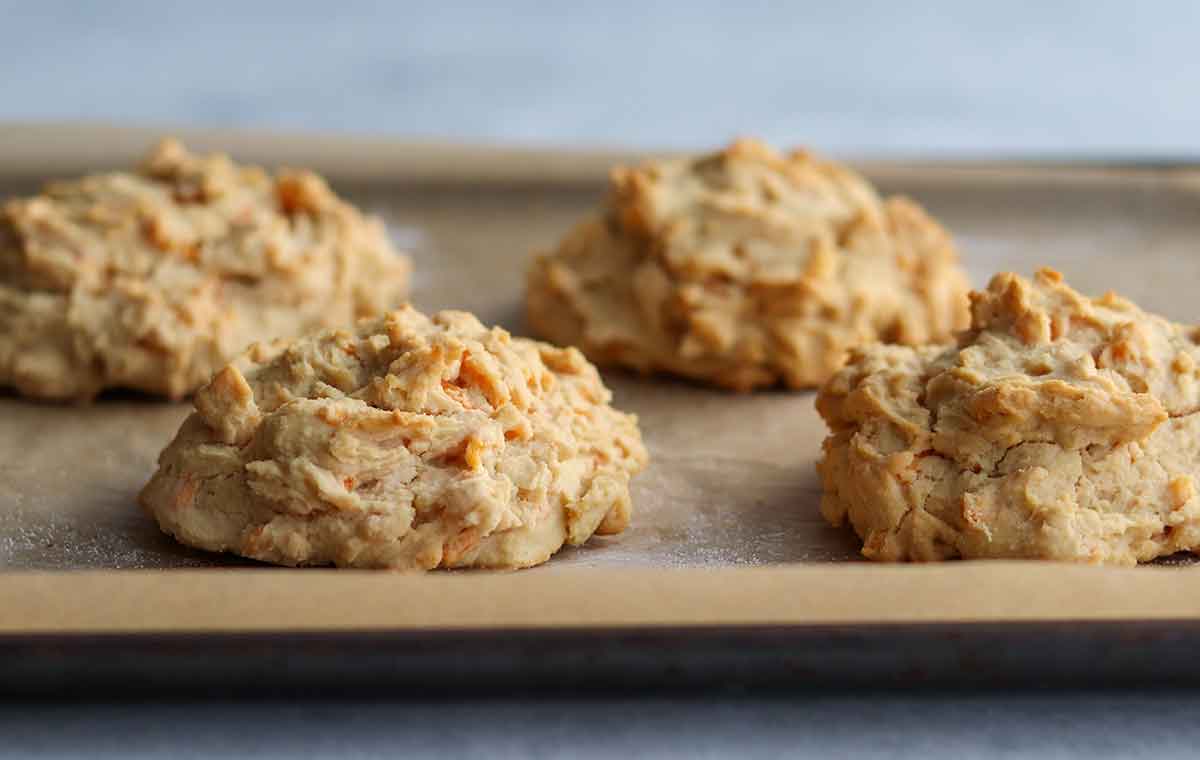
- Form 8 biscuits on your parchment-lined baking sheet. Use a spoon to smooth out the dough into biscuit-like shapes. Alternatively, you can use a rolling pin and biscuit cutter (pastry cutter) to form them. Because this dough is pretty wet and sticky, you will need to heavily dust them with flour to use this method.
- Bake the biscuits for 25 to 30 minutes or until cooked through and the tops of the biscuits are golden brown.
- Once they come down to room temperature, keep these biscuits in the fridge for up to one week, or in the freezer for longer. Store them in an airtight container or freezer bag. Reheat them in your toaster oven or microwave.
Video
Notes
Nutrition
Disclaimer: This recipe post contains Amazon affiliate links. This means that if you click on a link and make a purchase, I will receive a small commission (at no extra cost to you). This helps support me so that I can continue to put out high quality, free recipes for you guys! Thank you 😁🙌

Tara Klippert is a Registered Health and Nutrition Counselor and holds a diploma in Holistic Nutrition and Health Coaching. She shares her gluten free, dairy free & allergy friendly recipes.
 Welcome to my blog! I share my *healthified* comfort food recipes that work with a variety of different diet approaches. AND all of my recipes are 100% gluten and dairy free.
Recent Comments